
Add PDF files and their basic details before proceeding to the signer setup stage.
Before you begin
- Sign in to SignDex.
- Prepare up to five PDF files, with a maximum size of 25 MB per file.
- Choose a clear document title so you can find the workflow later.
Upload your files
- Open Documents and select Upload Document. You can also start from Home.
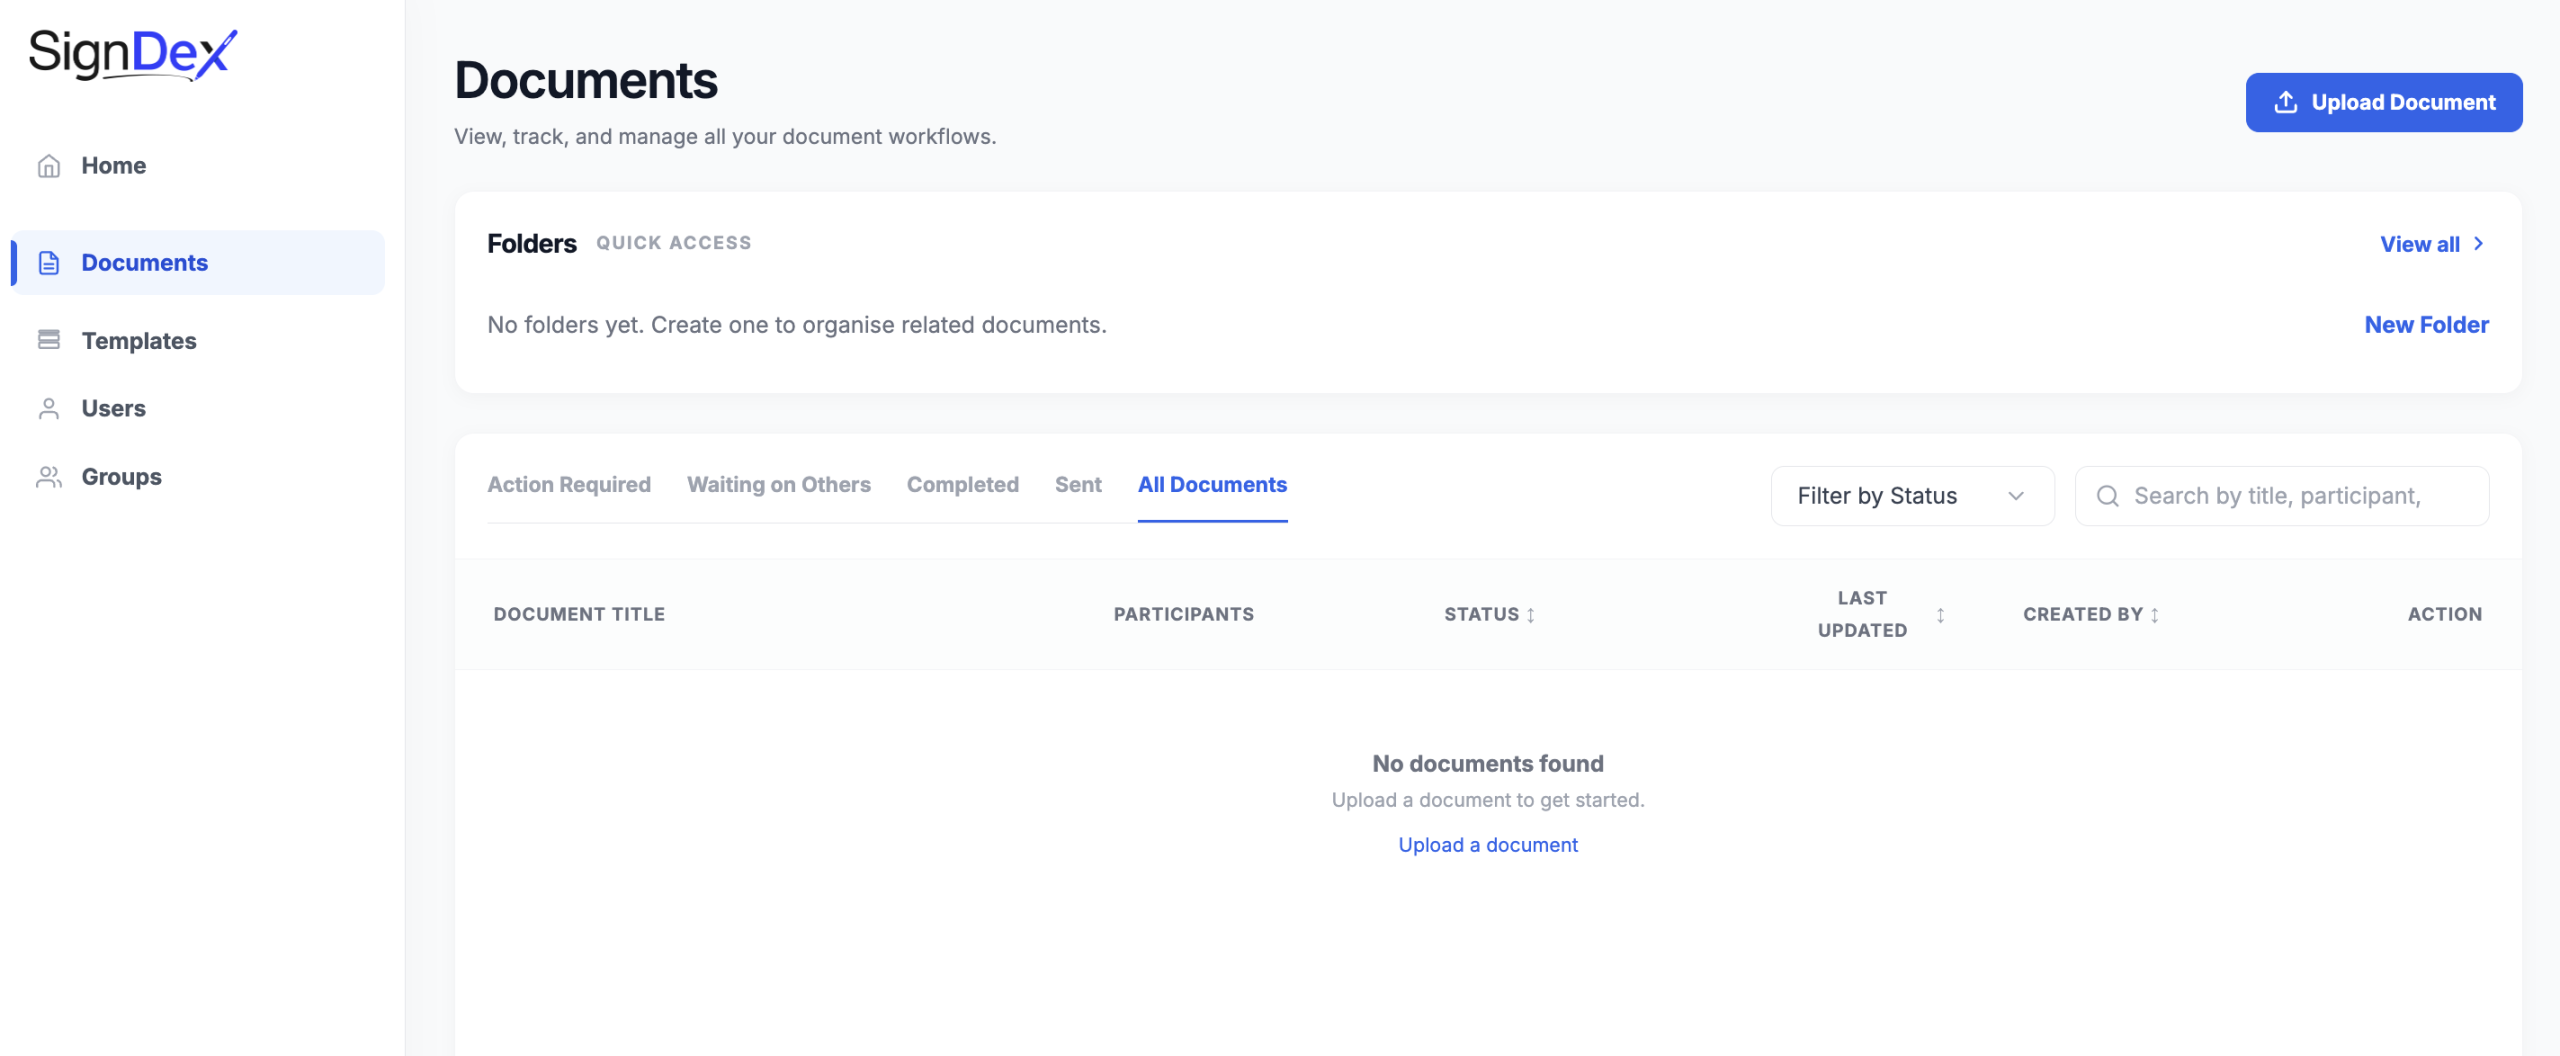
- Drag your PDFs into the upload area, or select Browse Files and choose them from your computer.
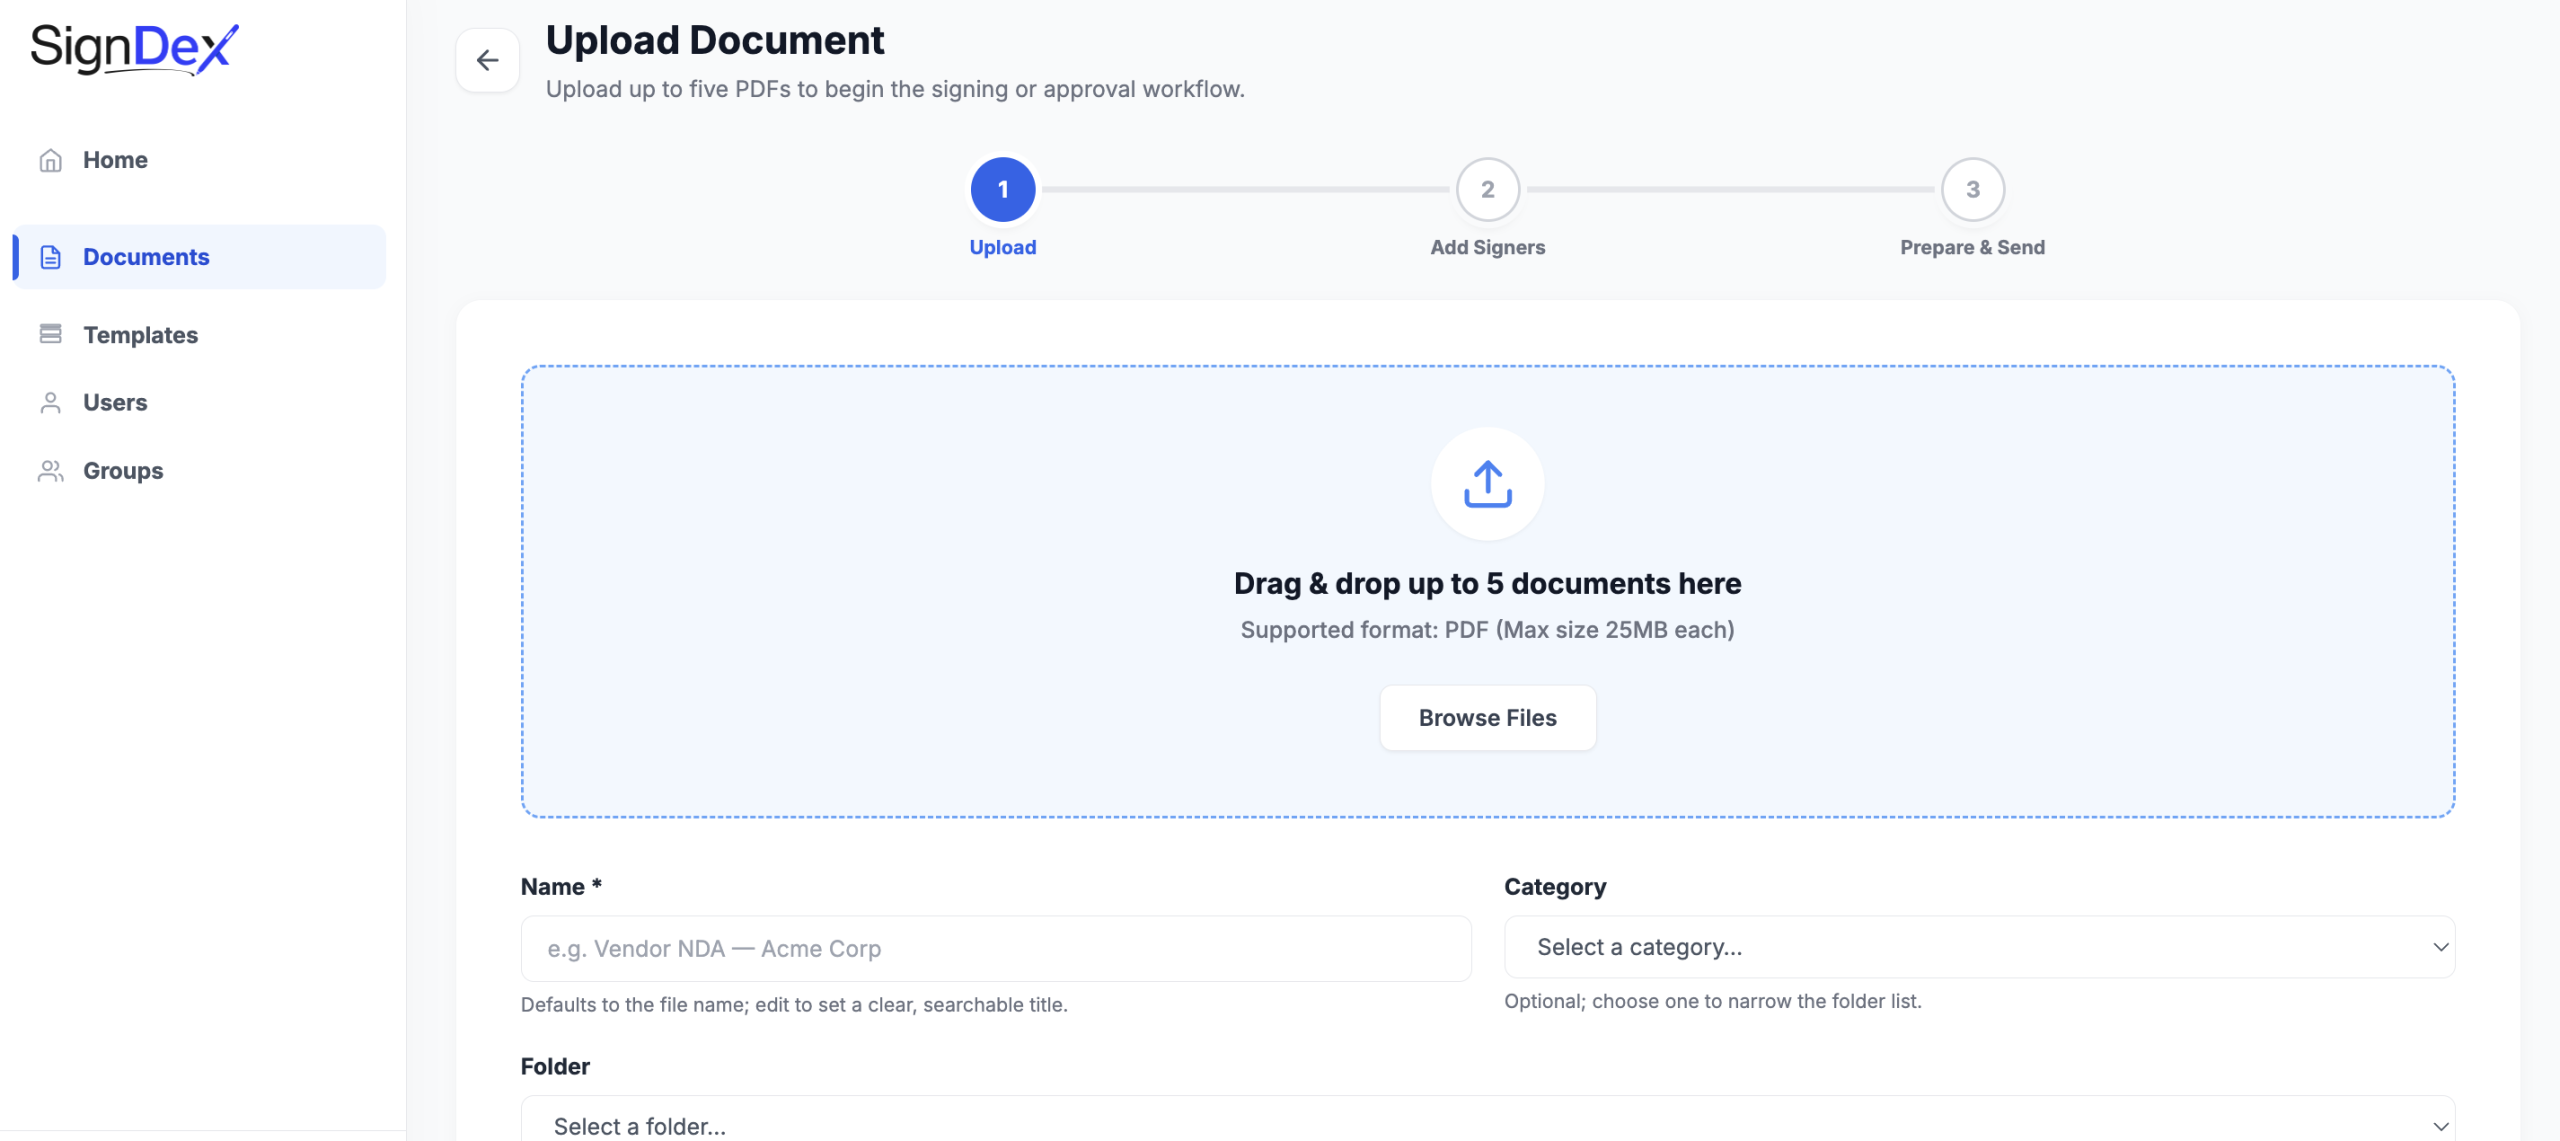
- Review Name. It defaults to the file name; edit it if needed to provide a clear, searchable title.
- Optionally select a Category. This narrows the folder list.
- Optionally select a Folder. The upload screen notes that selected folders are recorded at this stage and shown there after completion.
- Optionally enter a Description to explain the document’s purpose.
- Select Next: Add Signers when the files and required details are ready.
Check your progress
The next stage is Add Signers, followed by Prepare & Send. Uploading files is the beginning of the workflow; you still need to configure participants and complete preparation before sending.
If you cannot continue
If Next: Add Signers is disabled, check that you have uploaded a PDF and completed Name. Also check the file count and size limits.