Home » Help Center » Quick Start Guide: Sending Your First Document
Quick Start Guide: Sending Your First Document
In this article
SHARE
Welcome to SignDex! This guide will walk you through the process of sending your first envelope. By the end of this tutorial, you will have successfully routed a document for a legally binding electronic signature.
Prepare your document
Log in to your SignDex dashboard and click the “New Envelope” button in the top right corner. You can upload files in PDF, DOCX, or JPG formats.

Note: Files are automatically converted to PDF/A format to ensure long-term preservation compliance.
Add recipients
Enter the name and email address of each signer. You can also specify the signing order if multiple people need to sign in a specific sequence.
- Needs to Sign: The recipient must apply a signature.
- Receives a Copy: The recipient gets a copy once completed (CC).
- In-Person Signer: For scenarios where the signer is physically present with you.
Place signature fields
Drag fields from the left sidebar onto the document where you want the signer to input data. Standard fields include Signature, Date Signed, Name, and Company.
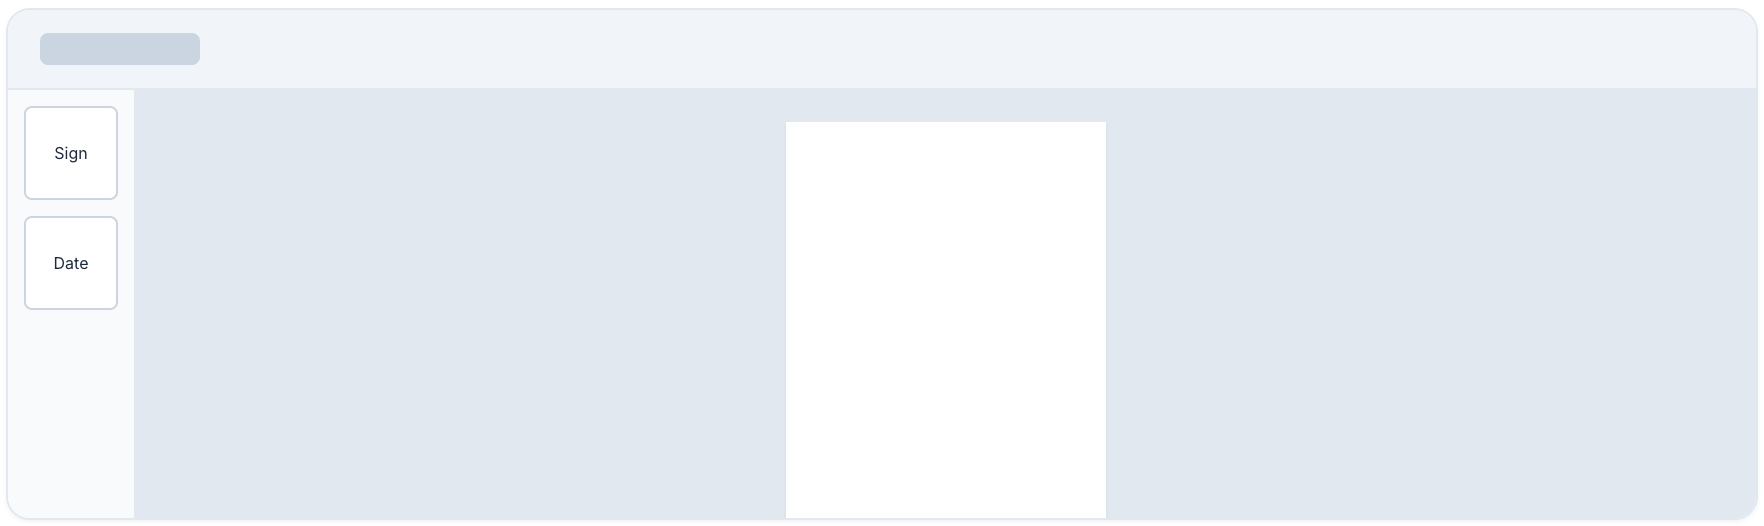
Pro Tip: Use the “Auto-Place” feature to automatically detect signature lines in standardized forms.
Review and send
Do a final check of the recipient details and field placements. You can add a private message to the email notification here. Once ready, click Send.
The document status will change to “Sent” in your dashboard, and you will receive a notification as soon as it is viewed or signed.